Article 4/4
Let’s start with honesty: You do not need a live production console to run a good video call. But if your work depends on video calls and once you have it… you will not want to go back.
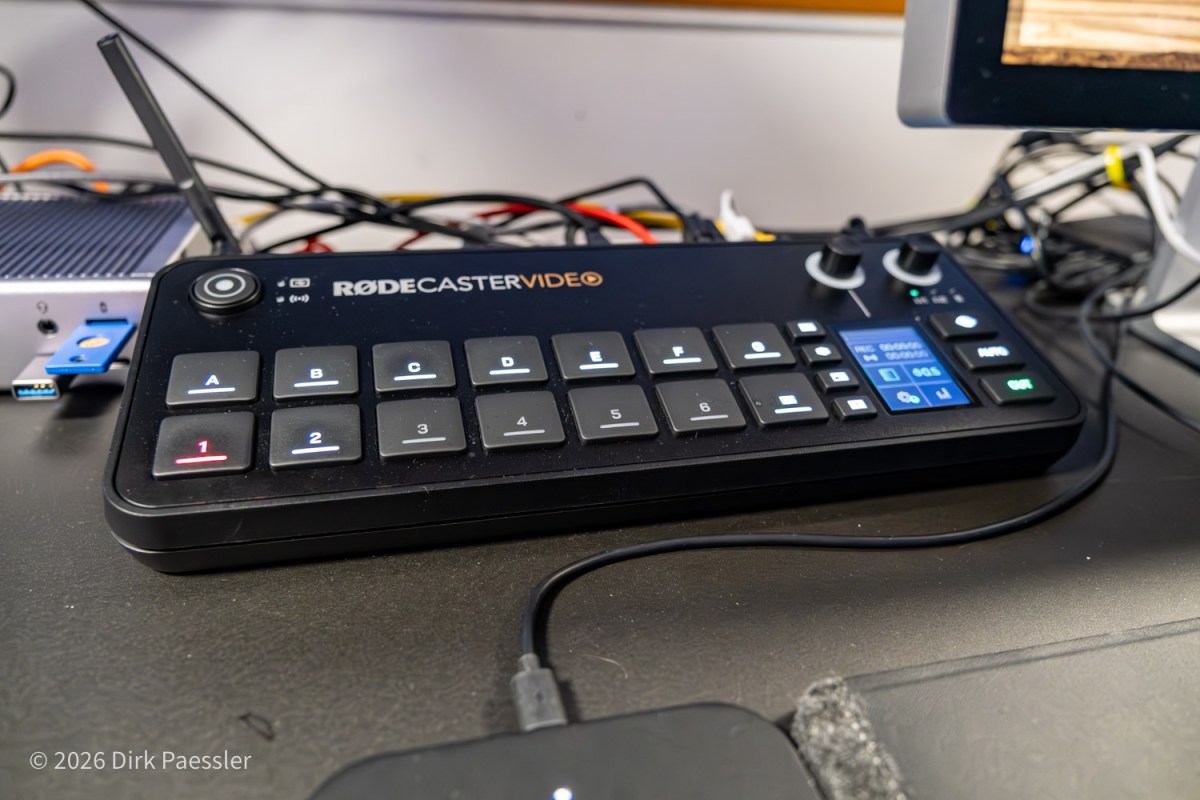
The central device in my setup is a “video switcher”, or better, a small video production studio on steroids, the RØDECaster Video, €850.
What changes with a video switcher
The big shift is that it’s no longer “camera → computer → software → meeting”.
Instead, the console becomes the hub:
- multiple camera inputs, easily switchable with dedicated buttons
- integrated audio control
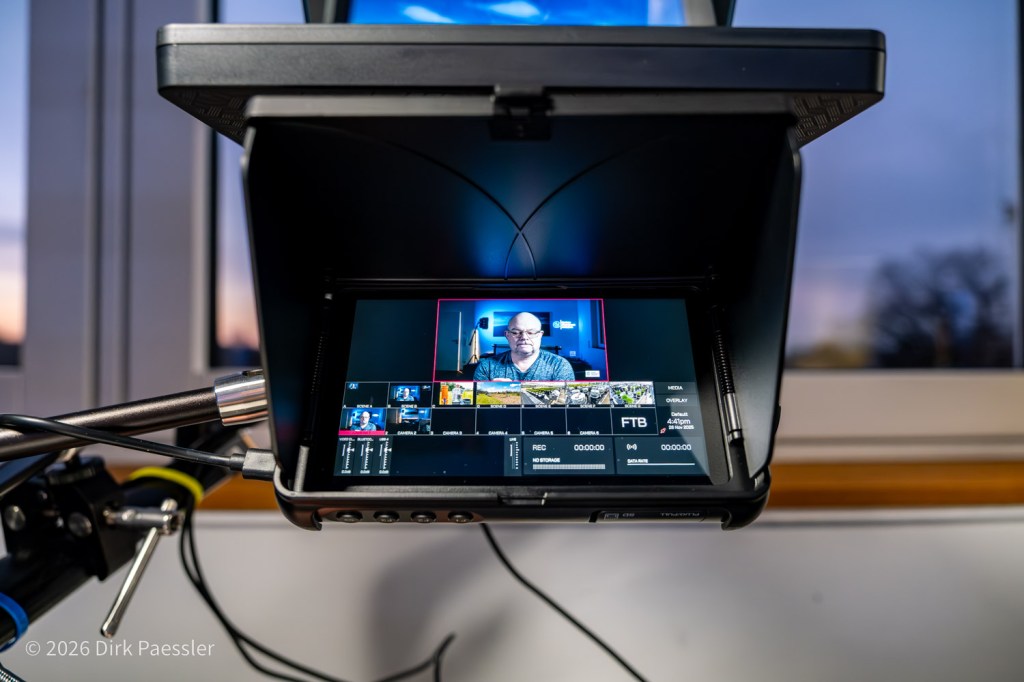
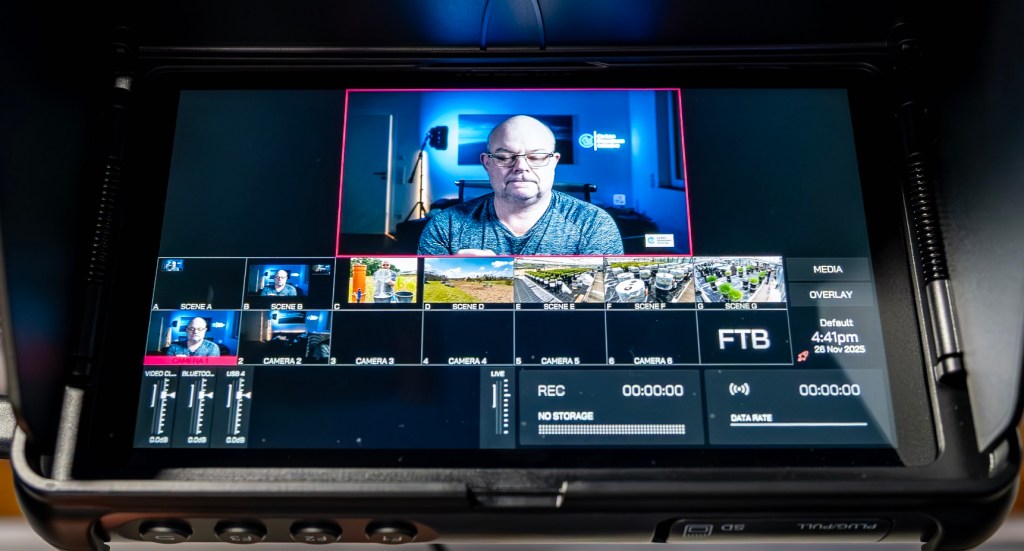
- a dedicated production screen with preview of video and audio levels (I am using a small HDMI preview monitor for this)
- a clean final output that goes into Zoom/Teams like a camera feed
And then there are the features that make it more than a switcher:
1) Fast camera switching (without fuss)
I can cut between my cameras depending on what I’m doing:
- teleprompter eye-contact camera for 1:1
- main camera for presentations
- utility angle to show drawings or objects
This sounds like overkill until you try it — and realize how much calmer it feels to switch angles instead of physically moving cameras or constantly re-framing.
2) “Einspieler”: built-in video clips for explanations
“Einspieler” are short, pre-produced clips you can play during a live session:
- a quick intro bumper
- a short explanatory animation
- a 10–20 second “this is what I mean” example
They are extremely useful in educational or explanatory calls because they:
- break monotony
- reduce verbal complexity
- keep attention high
Rules for using them without annoying people:
- Keep them short.
- Use them only when they add clarity.
- Don’t turn a meeting into a TV show.
How I use this in real video calls
A typical “important call” flow looks like this:
- Join the call with my standard “main camera” scene.
- If it’s a 1:1, switch to the teleprompter camera for true eye contact.
- If I share my screen, switch to the camera above the Studio Display so I can actually read what I’m presenting.
- If I need to explain something visually, play a short “Einspieler” clip and then return to the camera.
- End the call without touching cables or reconfiguring anything.
The biggest benefit is not the tech. It’s the calmness:
- no scrambling
- no “can you hear me now?”
- no “why does my camera look terrible today?”
Elgato Streamdeck
Beneath the monitor I have this small device, Elgato Streamdeck, €139, with 15 buttons on it. Without using my mouse I can…
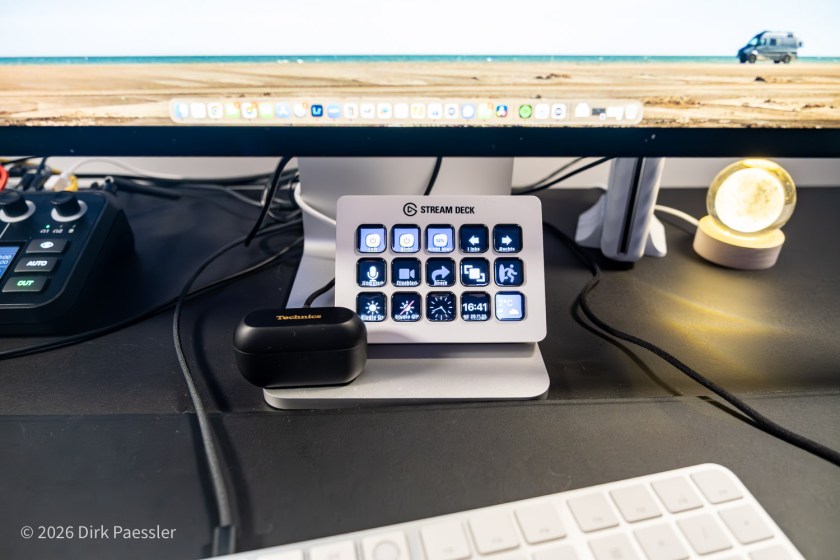
- Turn on/off the complete studio lighting in the room, including control over the window blinds
- Mute/unmute my microphone
- Stop/start my video feed
- Start sharing my screen, or end my share
- Leave the meeting
- Move the meeting window from the main screen to the teleprompter and back
- and other shortcuts
Mounting stand
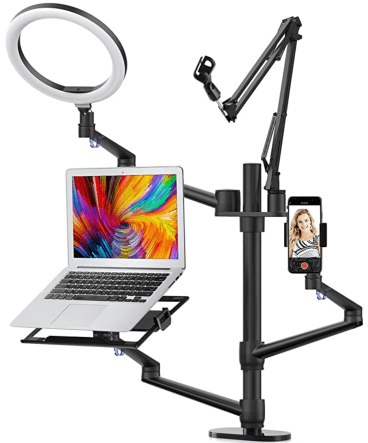
Most of my equipment is mounted using the Selfie Desktop Live Stand Set 6-in-1. This keeps my desktop uncluttered.
Final note: start with the basics
If you want to improve your calls, don’t start with a video console.
Start with:
- Headphones (for everyone)
- A decent microphone
- Good light
- Stable internet (Ethernet if possible)
Then, if you still feel the itch… welcome to the Spielkind club.
Read the whole series: My Zoom / Video-Call Setup (Version 4)
- Article 1: Why I Built It (and why you might, too)
- Article 2: Sound First – Why Audio Matters More Than Video (and why it’s about respect)
- Article 3: Great Video – Three Cameras, One Teleprompter, and Lighting That Actually Helps
- Article 4: Advanced Tech – Video switcher, Stream Deck, Mountings

You must be logged in to post a comment.