Article 3/4
We do video conferences because we want to see each other. That’s the whole point. And yet, in many calls I still see people like:
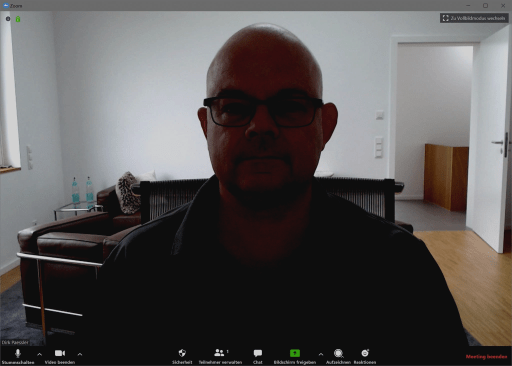
- a laptop camera from below, looking into the nose
- a ceiling light that blasts into the camera and makes the person look like a ghost
- a super bright window or wall behind a person killing the lighting on the face
As a photographer, that hurts. But even if you’re not: it’s simply unnecessary. You can look significantly better with a few deliberate choices.
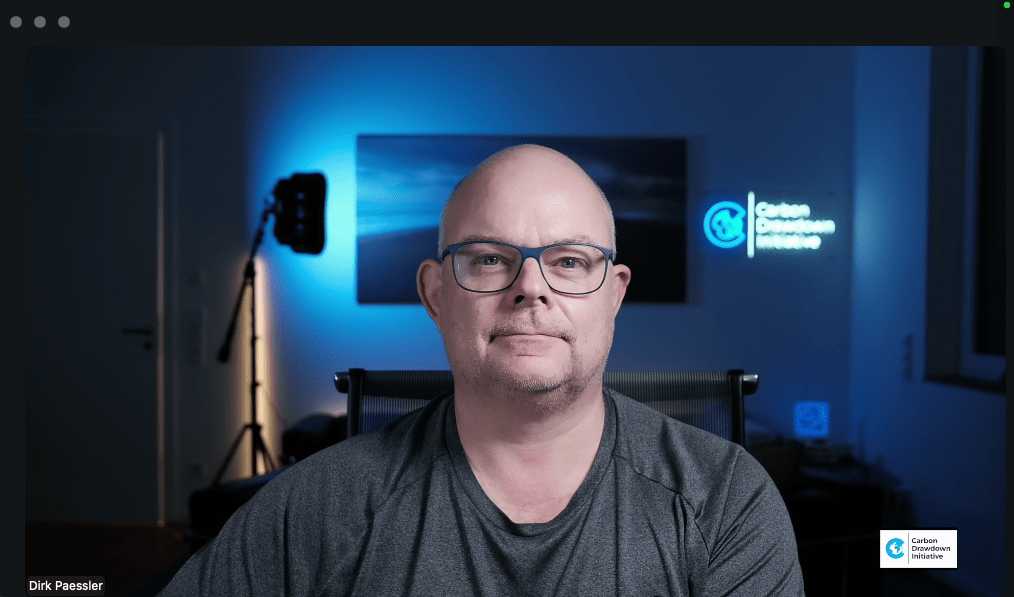
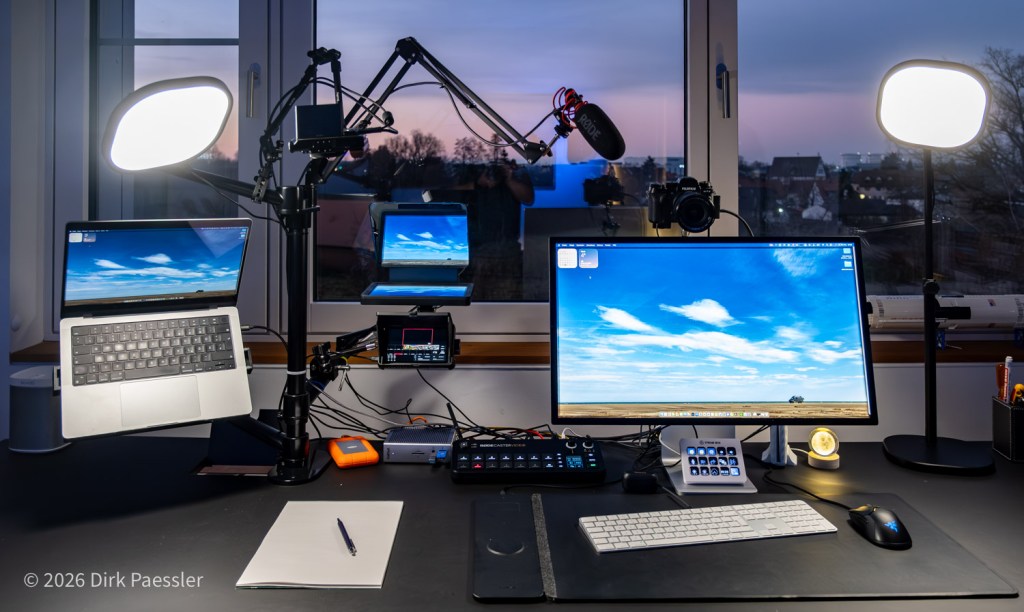
This is how you see me in a video call:
The first principle: camera position
If your camera is below eye level, people look down at you. It’s not flattering and it doesn’t feel like a conversation.
My default rules:
- Camera slightly above eye level (e.g. put your laptop on a pile of books or buy a laptop stand/arm!)
- Face is centered in the screen (don’t leave 80% of vertical image space empty above your head)
- Close enough that your head and shoulders fill the frame
This alone improves “presence” immediately. Nobody wants to look up your nose. Also, avoid using “meeting room cameras” mounted to a wall, 15 feet away from you, this is so 1995. In fact, meeting rooms should not be used in video calls with several other people at all. Either meet in person, or go fully virtual. Don’t mix that.
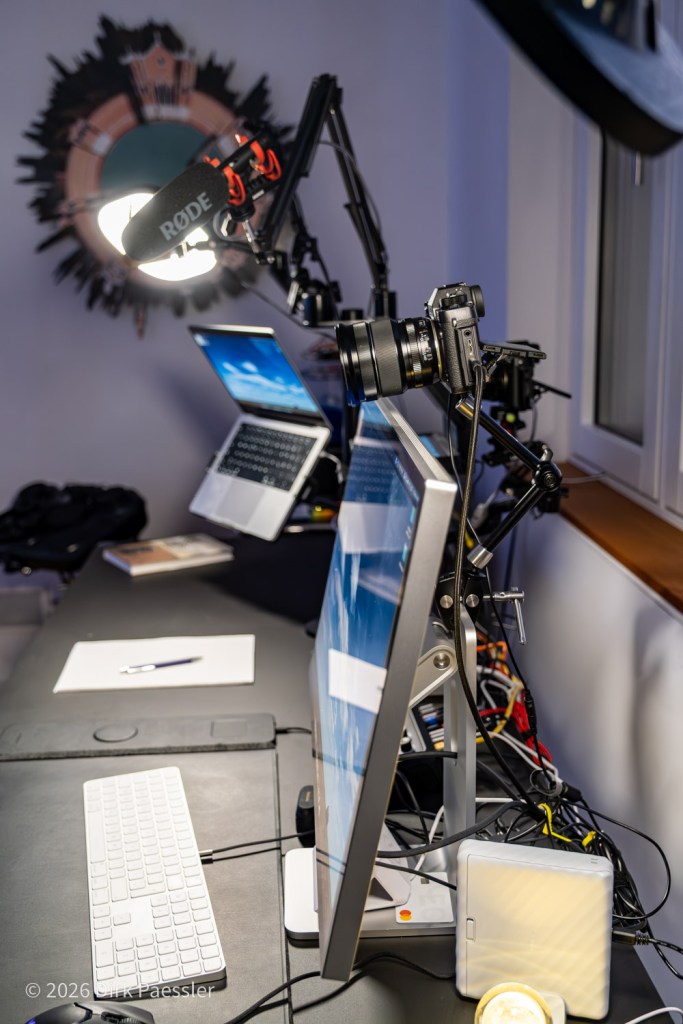
Why I use two main cameras (and a third when useful)
I run three cameras overall, but two are the workhorses:
Camera 1: the teleprompter camera (for one-on-one calls)

For one-on-one sessions, I want the other person to feel like I’m looking them in the eyes. A so-called teleprompter solves the fundamental video-call problem:
- If you look at the other person’s video on your screen, you look down.
- If you look into the camera, you can’t see the other person and you lose the human feedback.
With a teleprompter I can see the other person in the half-transparent screen while the camera can record me looking directly into it. Result:
- I look into the camera,
- I can see them, they feel seen,
- and the conversation feels far more direct.
It’s not magic. It’s geometry.
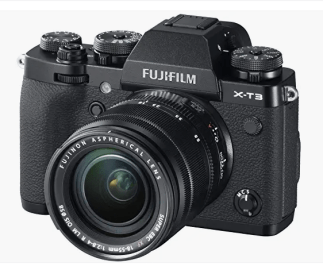
I am using an APS-C camera, FUJIFILM X-T2, with a 23mm/f2 lens that creates a neat bokeh behind me, i.e. the background is blurred and my head is optically separated from the background. Others use DSLRs or mirrorless cameras from Canon, Sony, etc. My teleprompter is the Elgato Prompter, €230.
Camera 2: the main camera above my Apple Studio Display (for screen sharing)
When I’m presenting and screen sharing, I need a big display. The teleprompter screen is simply too small to read detailed content comfortably. So for “presentation mode”, I switch to the camera above the Apple Studio Display.
That way:
- I can actually read what I’m sharing
- I still maintain a natural angle to the camera
- I look like I’m presenting — not like I’m searching for my cursor in panic
Here I am also using an APS-C camera, FUJIFILM X-T3, with a zoom lens so I can adapt the field of view on the fly. It is mounted to the Apple Studiodisplay using a SmallRig Magic Arm, €35.
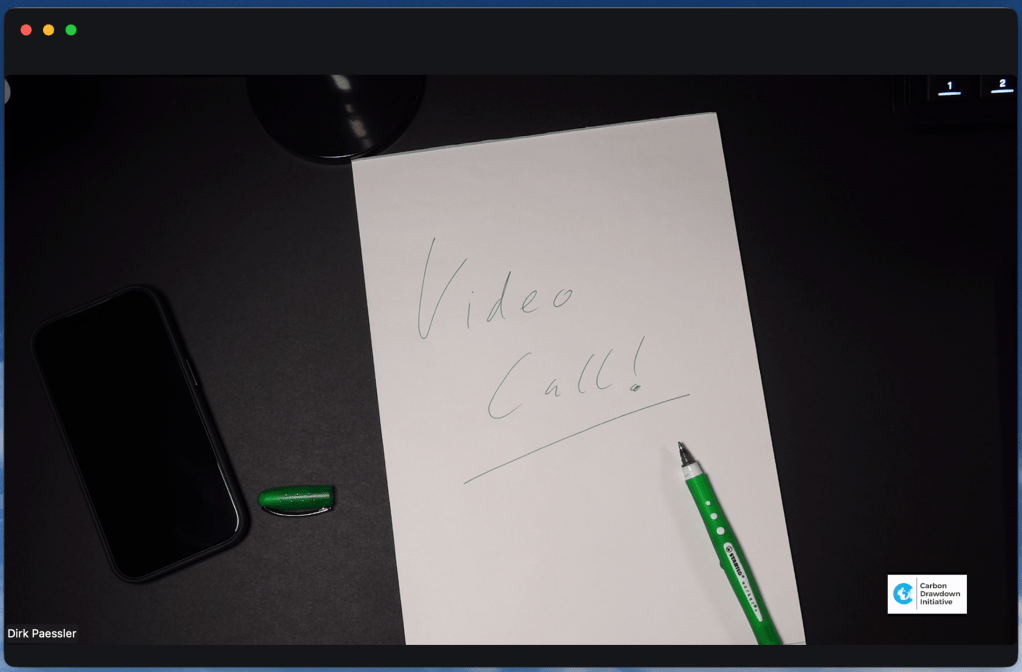
Camera 3: the “Top-Down angle”
The third camera (SONY RX 100 VI, also mounted with a SmallRig Magic arm) looks down at my desk where I can make sketches on a paper and let the other people in the video call see my drawings. Or I can show objects.
Not necessary, but occasionally very useful — and again: I’m a Spielkind!
Bonus tip: All cameras have a permanent power-source connection, either via USB-C or via a battery replacement.
Lighting: the invisible upgrade that makes everything easier
Even great cameras look bad with bad lighting. And the opposite is also true: decent cameras look surprisingly good with great light.
I use Elgato Key Light Air lights because:
- the light is soft and flattering
- brightness and color temperature are adjustable
- they are easy to position and keep consistent

A simple lighting approach:
- One key light slightly brighter on one side
- The other light slightly dimmer on the other side
- Avoid direct overhead room lighting as the main source (also, avoid bright light from behind you, come on, buy a window blind!)
This creates depth and avoids the flat “office webcam” look.
Background: keep it real, keep it calm
A video background should not be a multi colored performance.
- Avoid chaotic clutter.
- Avoid virtual backgrounds unless they work perfectly (glitchy silhouettes are distracting, I have no idea why so many people use this).
- A simple, well-lit real background is usually best.
Think of the background as stage design: it should support you, not compete with you. I have set up a couple of lights in the back of my room to create depth in the picture.
A quick video checklist
Before important calls, I check:
- Camera at the right height?
- Framing: head/shoulders, not half the room?
- Lighting on?
- Background not distracting?
In Article 4, we’ll get into the fun part: switching cameras live, using “Einspieler”, and why effects should be used like salt — not like ketchup.
Read the whole series: My Zoom / Video-Call Setup (Version 4)
- Article 1: Why I Built It (and why you might, too)
- Article 2: Sound First – Why Audio Matters More Than Video (and why it’s about respect)
- Article 3: Great Video – Three Cameras, One Teleprompter, and Lighting That Actually Helps
- Article 4: Advanced Tech – Video switcher, Stream Deck, Mountings

You must be logged in to post a comment.