
Article 1/4
Video calls have become a daily thing nowadays. Especially since the beginning of the pandemic, many of us have spent a lot (likely too much) time in Zoom/Teams video calls. Reason enough to think about how to do this better than the classic “laptop open and go”.
I’ve been iterating on my setup for years. Not because anyone needs a mini broadcast studio for a Monday morning status call — but because:
- I’m a Spielkind (a grown-up who still likes to tinker).
- I’m a lifelong photographer who cares about optics and impression.
- I spend a lot of time in calls: I run my climate company fully virtual, with scientific work, policy work and more than 30 impact investments. That means I have lots of conversations where I want to be clear, credible, and simply leave a good impression.
This is the core idea behind my current setup:
Video calls are about conveying a message.
If your image is dull, your audio is scratchy, or your connection stutters, you don’t just “look less professional”. You lose attention — and attention is the currency of impact, in the worst case your precious time investment in a call is fully wasted.
What I optimized for
When I built the current Version 4 (yes, there were earlier versions, V1 (March 2020), V2 (Nov 2020), V3 (Feb 2022)), I optimized for four things:
- Reliability: it should work every time, without me “debugging” in front of an audience (this also means that I leave the setup as it is all the time!).
- Speed: I want to be ready in seconds, not minutes.
- Flexibility: one-on-one calls, group calls, presentations, screen sharing.
- Quality: image and sound that feel calm, clear, and intentional.
- Fun: Including various tech gadgets so I have fun using it.
The one rule that matters most
Before we talk about cameras, lights, and the fancy gear:
Everyone in a video call should use headphones.
Especially when there are more than two people in the call.
Without headphones, conversations become unnatural: people start talking at the same time, echoes and “speech suppression” kick in, and you don’t even notice when someone else is starting to speak. It destroys the flow. It’s also one of the easiest upgrades you can enforce in a team without spending a ton of money. I urge you to try this, you will not want to go back!
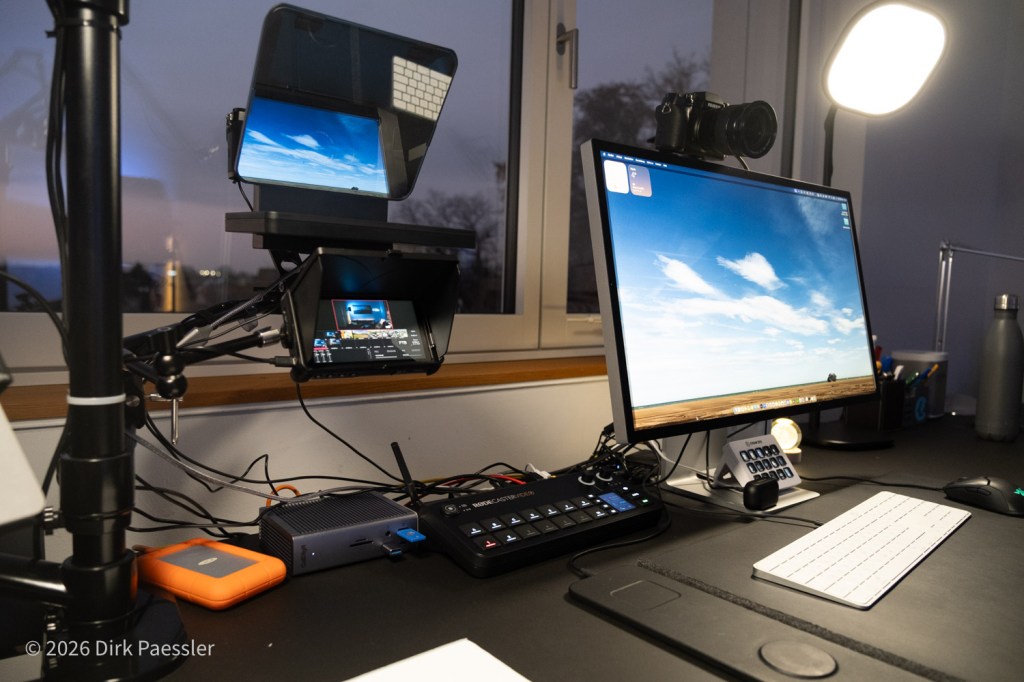
The setup: a high-level walk-through
Here’s my current “Zoom station” in plain language. Think of it as three layers:
- A stable computer + screen (where I work)
- Great audio (so people want to listen)
- Great video (so people like looking at the conversation)
And then one device that ties it all together.
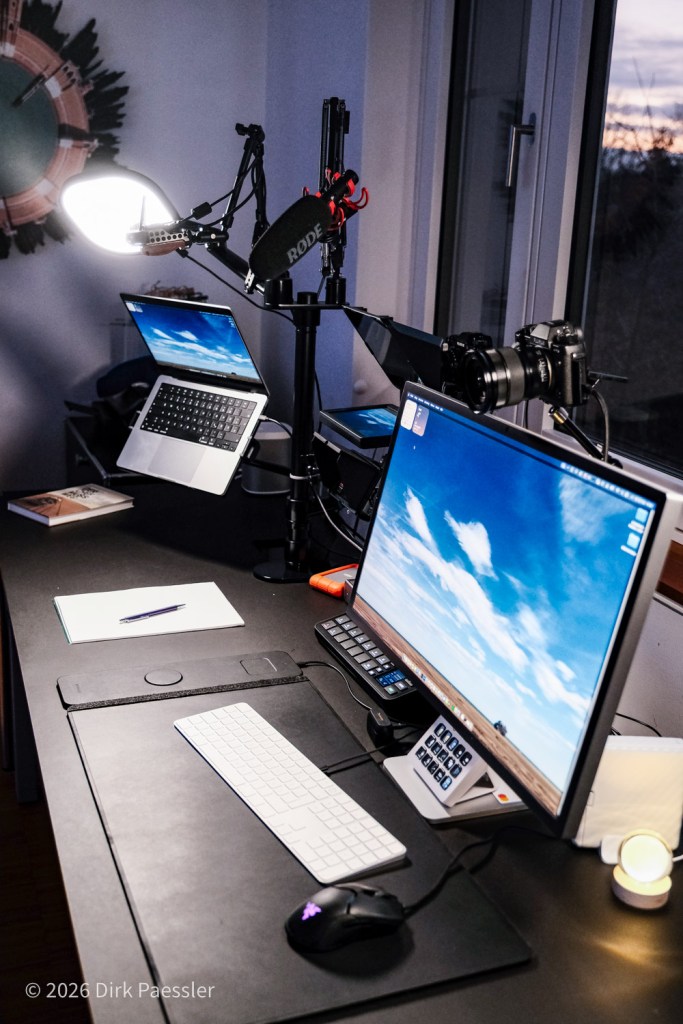
Display and computer
My daily driver is a proper desktop-style screen setup (currently centered around a MacBook Pro powered by a Caldigit TS4 docking station and an Apple Studio Display). I want a big, crisp screen because:
- I’m often reading notes, documents, or spreadsheets while talking.
- During screen sharing I need to see details without squinting.
- I want the camera in a predictable, repeatable position.
Internet
If you do a lot of video calls, treat internet like electricity: you only notice it when it fails. Wi‑Fi can be fine. But Wi‑Fi can also ruin your day with random packet loss and micro-stutters. So whenever possible, I use a wired Ethernet connection for the machines that handle my calls.
Sound: headphones + a real microphone
My audio chain is simple:
- Headphones for monitoring and echo-free conversation
- A proper microphone for speech quality (clear, full, “podcast-ish”)
This is the part where I’m quite strict. Great sound is not a luxury. It’s respect.
Video: three cameras + proper light
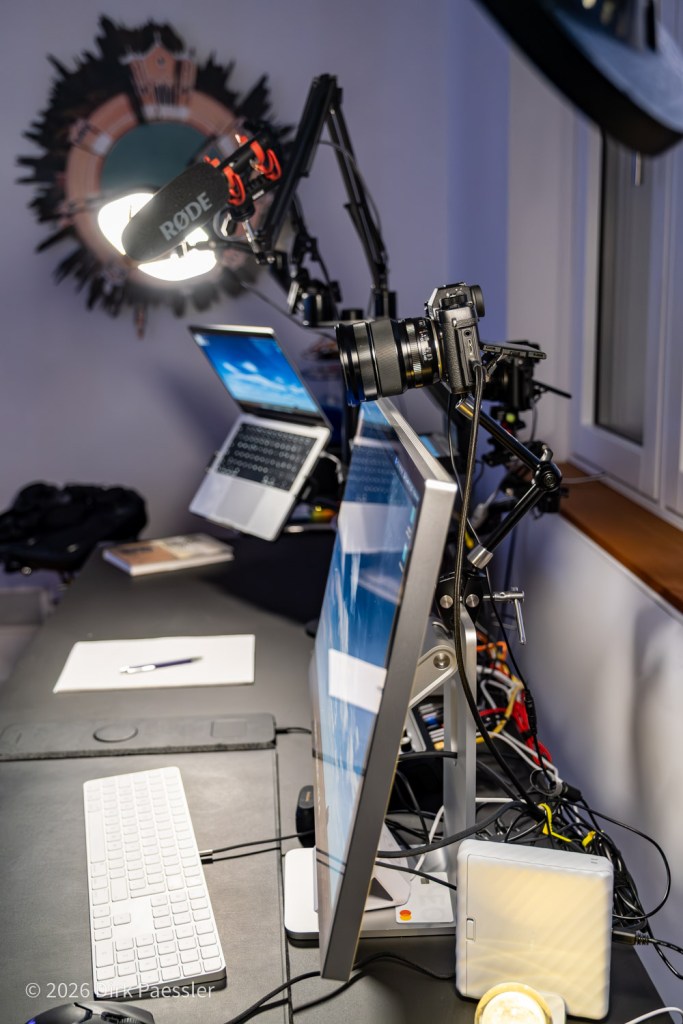
I currently run three cameras (proper APS-C cameras, not webcams) into my system. Two are used most of the time (I’ll cover them in detail in Article 3):
- A camera with a teleprompter for one-on-one calls (for real eye contact)
- A “main camera” above the Apple Studio Display for presentations and screen sharing
- Plus a top-down camera to show drawings or objects
Good video also needs good light. I use Elgato Key Light Air lights because they’re bright, soft, adjustable, and easy to control.
The hub: RØDECaster Video
I run a small video production studio on my desk in for of the RØDECaster Video, which…
- serves my three cameras
- gives me built-in video clips (“Einspieler”) that I can use in calls
- allows me to oversee audio inputs
This is where the setup stops being “just nicer Zoom” and starts being “small-scale live production”. Necessary? No. Fun? Yes. Useful? Surprisingly often.
What this series will cover
This article was the overview. The next three go deeper:
- Article 1: Why I Built It (and why you might, too)
- Article 2: Sound First – Why Audio Matters More Than Video (and why it’s about respect)
- Article 3: Great Video – Three Cameras, One Teleprompter, and Lighting That Actually Helps
- Article 4: Advanced Tech – Video switcher, Stream Deck, Mountings

You must be logged in to post a comment.